

Striped walls: how to do them, tips and 48 trendy and creative inspirations
Striped walls are classic… Elegant and versatile, stripes add personality and style to any environment. But it is also a modern trend. Depending on the design you choose, stripes can be bold and creative. Not to mention that orientation, thickness, and color combination are still capable of creating interesting visual effects, which can even affect the perception of space.
In today’s post, you will learn how to use stripes on the walls of your home
Lane orientation and visual effects
Horizontal stripes
Horizontal stripes create an illusion of width and can make a wall appear wider than it really is. This orientation is especially useful in narrow environments, where you want to give the feeling that the space is wider and deeper.
However, it is important to be careful when using horizontal stripes in small spaces, as they can make the room look cramped. In this case, the best option is to use light and subtle colors to avoid this effect.

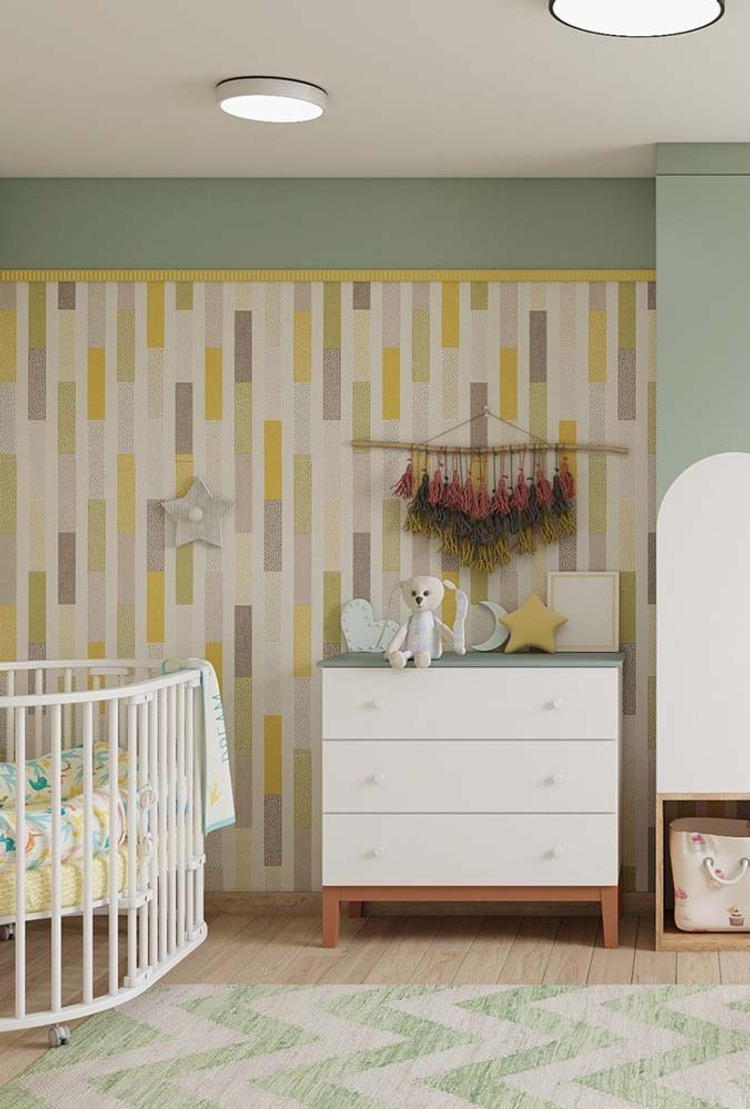
Vertical stripes
Vertical stripes, on the other hand, have the opposite effect. They create an illusion of height, making a low space appear taller. This orientation is ideal for low ceilings or rooms with low ceilings.
Vertical stripes can also add a sense of elegance to a room. However, it is important to remember that very narrow and dark stripes can create a feeling of visual claustrophobia. Therefore, choose appropriate colors and thicknesses to balance the aesthetics of the environment.
Striped halls: Dare to paint or decorate your entrance with stripes
Diagonal stripes
Diagonal stripes have the ability to add dynamism and movement to a space. They create a sense of flow and direction, giving the wall a unique and creative look.
Diagonal stripes can also bring an illusion of depth and visually enlarge the room, making it more spacious.
The thickness of the strips
The thickness of the strips also plays an important role in the visual effect of the wall.
Wide stripes, for example, have a bolder impact and can easily become the focal point of the room. They are ideal for contemporary and modern spaces, where you want to create an impressive appearance.
However, it is not advisable to use wide stripes in small spaces, as they can make the environment feel even smaller.
Narrow stripes, on the other hand, are more subtle and subtle, adding texture and movement to the wall. They work well in more traditional and romantic settings, offering a touch of understated elegance.

Materials for making a striped wall
Check out some of the main ways to achieve a striped wall below:
Paint: The most common and economical way to create stripes on the wall is to use paint. Paint offers a wide variety of colors, finishes, and application techniques.
Wallpaper: Striped wallpaper is another popular choice, especially for those who want a quick, hassle-free result. You can find a wide variety of patterns and styles with stripes.
Plaster: Plaster can also be used to create stripes on the wall. In this case, it is necessary to hire a professional who specializes in plaster work to ensure a quality result. Plaster allows the creation of custom stripes, with different depths and textures, offering an elegant look and 3D effect.
Wood Paneling: Yes, you can have a striped wall using wood paneling. For this, the panels are cut into strips and placed on the wall, creating a striped pattern. Depending on the width of the strips, you can create wide or narrow stripes, adapted to the style and proportion of the space.

How to make striped walls?
Among all the options, paint is definitely the most affordable of all for those who want to have striped walls. For this reason, we have below a simple step-by-step guide to making your own wall:
Choose colors: Choose two or three colors that harmonize with each other. You can choose a contrasting color scheme for a vibrant effect or choose light tones for a softer look.
Prepare the wall: Make sure the wall is clean, smooth, and dry. Remove any imperfections and apply a base coat of color if needed. This helps ensure an even surface for stripes.
Stripes decor: How to integrate black and white stripes in decoration
Mark the guidelines: Use masking tape to mark the guidelines for the stripes. Carefully measure the distance between each row and make sure it is level.
Paint the stripes: With the guidelines ready, paint the areas between the tapes with the chosen colors. Use a brush or roller to achieve an even finish. Wait for the paint to dry completely before removing the masking tapes.
Remove the masking tapes: With the paint dry, gently remove the masking tapes, pulling them at a 45-degree angle to prevent the paint from peeling with the tape.


Images via: Pinterest
Related posts:
 Creative Ideas for Painting Stripes on Your Walls
  20 Creative Ideas for Decorating Walls with Posters | Easy & Stylish
  Refresh the walls of your home with the trendy powder pink color – 35 ideas for inspiration
  8 Simple Tips to Style Your Home with Wall Art
  What color paint the wall? inspirations that will make you redefine everything