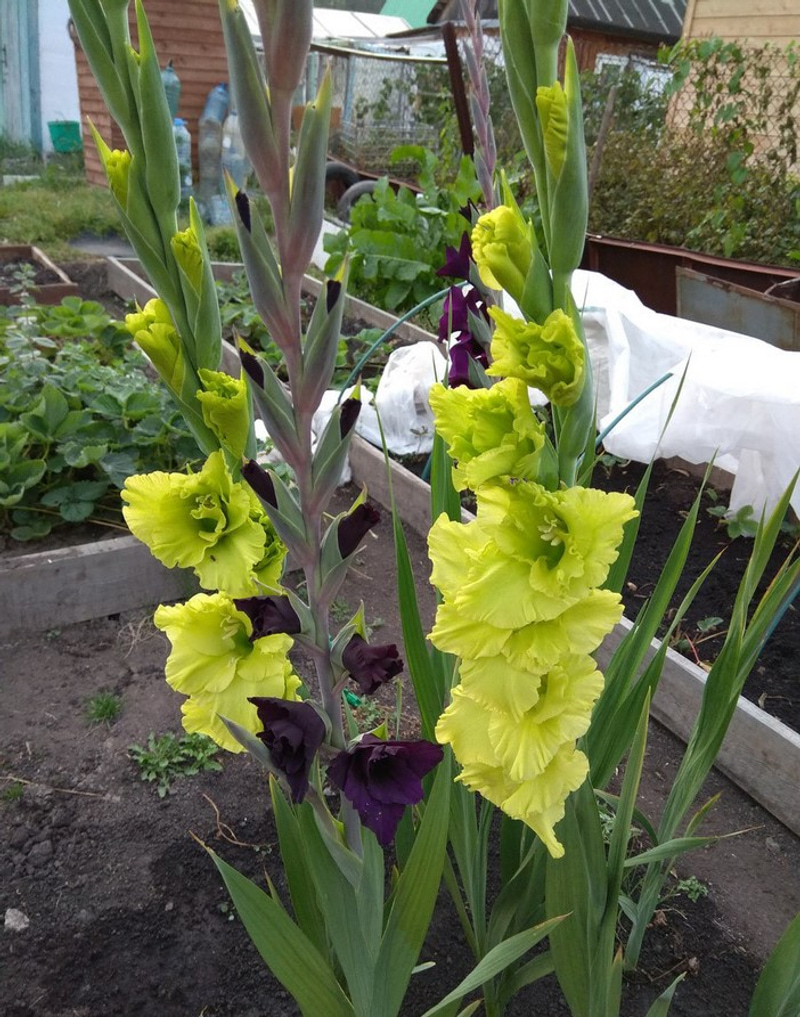
How to grow the impressive Gladiolus in your pot and garden
Gladiolus plants are known by several other names, including Gladiola, “Glads”, and even “Sword Lilly”. Whatever you like to call them, their showy spikes make them one of the more popular flowers grown in the home flower garden. Gladiolus flowers are native to the mountains of South America. They are widely grown in the U.S. and Europe. Growing Gladiolus from corms is easy. They make for a beautiful, stately flower in the garden and floral arrangements, hence their popularity.
The gladiolus has a tall stalk of trumpet-shaped blooms that fill the fields and gardens of summer with an array of beautiful, bright colors. Many people admire these striking blooms and florists love to use gladioli or the vertical accent and pop of color they add to arrangements.
Zinnia: The beautiful protagonist of your yard and garden
With just a little attention, your glads will burst into a bloom of tall spikes in July or August. Blossoms come in a wide range of colors and bi-colors, including blue. The blossoms will open from the bottom first. Harvest spikes of Gladiolus just before the top blossoms open.

How to Grow Gladiolus
When to plant:
Start planting glad corms as early as a month before the average last frost date in your area. Depending on the cultivar, gladiolus take an average of 90 days after planting before they flower. Stretch the blooming season by succession planting corms at two-week intervals through early July and by mixing varieties that mature at different times. Make your last planting about 12 weeks before the first frost date.
Where to plant:
Plant glads in flower beds and borders, vegetable gardens, cut flower gardens, and even containers. All they need is a sunny location that is protected from wind to avoid damage to the tall flower stalks. Use them to fill spaces and add vertical interest in an established flower garden, as they will bloom in late summer when many other flowers fade.
Planting depth and spacing:
Gladiolus corms can vary in size, depending on the type. For best results, follow the recommendations given on the package. Always plant corms with the flatter side facing downward, and the pointed end facing up.
How to grow Peony lactiflora or Chinese Peony in your pot and garden
Soil:
Glads aren’t fussy and will thrive in many different soil types, but well-drained soil is a must. Before planting, work the soil several inches deeper than the planting depth of the corm and amend it with organic matter if necessary.

Growing Care
Staking:
Glads that grow 3 to 4 feet or taller will probably need to be staked or caged to prevent the stalks from bending and breaking. Set the stakes in the ground at planting time to avoid damage to the corms.
Watering:
After planting, water glads thoroughly and then keep the soil evenly moist throughout the growing season. During dry weather, soak the ground thoroughly to supply the equivalent of an inch of rainfall per week. To help conserve moisture and control weeds, apply a 2- to 4-inch layer of mulch around your plants.
Pest problems:
The biggest threat to gladioli are thrips, tiny flying insects that feed on the foliage and flower buds. Thrips are hard to spot without a magnifying glass, so watch your glads for signs of thrip damage, which includes silvery streaks and small white patches on the leaves and buds that fail to open.
Tigridia: How to grow the amazing tiger flower plant in your garden

Winter care & storage:
After a glad blooms, the original corm begins to wither away and a new one forms for the next year’s growth. In areas where gladiolus aren’t hardy, you can overwinter the newly formed corms until the following spring by digging them up in fall once the foliage has been killed by frost. Here are the basic steps:
- Cut the flower stalks off just above each corm, brush or wash off the soil, and then allow the corms to dry in a well-ventilated area for a couple weeks.
- Separate the new corms from the old ones, layer them in a cardboard box with newspaper in between, and store them in a dark, dry, cool area (ideally 35 and 45 degrees F).
- Some corms also produce cormels—smaller plantlets that can be separated from the parent and grown into new plants. However, cormels often won’t produce blooms for several years and are best discarded.
- If you have a variety of glads, label the corms by color or cultivar before storing.
- Check your corms periodically to make sure they are in good condition. If they have started to sprout new growth, move them to a cooler spot. If you notice signs of rot, the packing material may be too moist.
- If you don’t want to fuss with digging up and storing the corms each year, simply treat them as annuals and buy new ones every spring.


